


Cozy Hooded Cardigan
(10.00USD)
Water Bottle Bag
(FREE)
Hair Flower Clips
(FREE)
Sweet Easter Hats
(FREE)
Baby Boy Beanie
(FREE)
Baby Booties-Boy or Girl
(FREE)
Peruvian Style Hat: kid-adult
(4.00USD)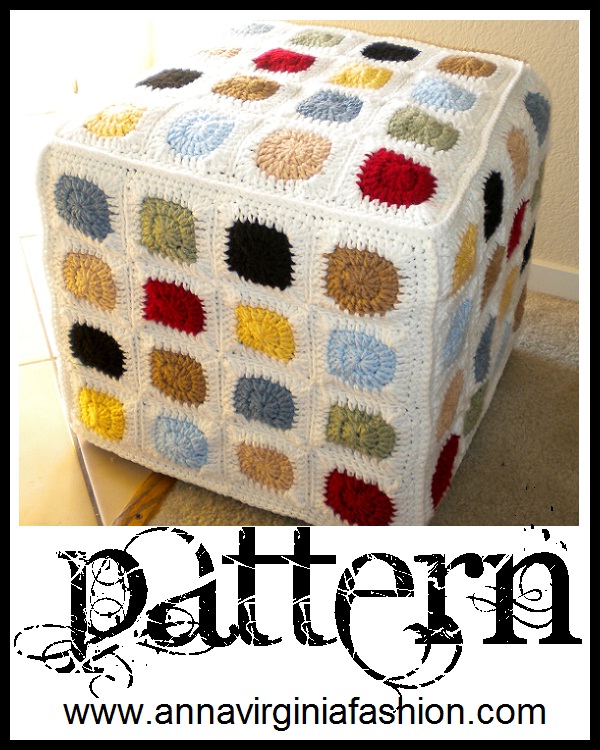
Granny Square Ottoman Cover
(FREE)
Crochet Nativity
(FREE)
Peruvian Style Hat: baby
(4.00USD)
Mesh Cloche
(5.00USD)
Motif Vest
(5.00USD)
Baby Flapper-Girl Hat
(FREE)
Brimmed Baby Boy Hat
(4.00USD)
Baby Girl Flats
(4.00USD)
Baby Beach Cover Up
(5.00USD)
Baby Summer Sandals
(4.00USD)
Baby Girl Newsie Hat
(4.00USD)
Summer Sun Hat
(FREE)
Baby Girl Sandals
(4.00USD)
Piggy Peeps Baby Shoes
(FREE)
AnnaVirginia Fashion
I started out crocheting as a young girl, designing as a teen, and in 2009 I earned a bachelor degree focusing on Clothing Construction/Design. In 2010, just after I had my first baby, I was inspired by those adorable little baby toes to make a variety of baby booties. Then, at the request of fellow crocheters, I wrote down my first patterns. My husband and I of 10 years now have 4 children who inspire my designs!